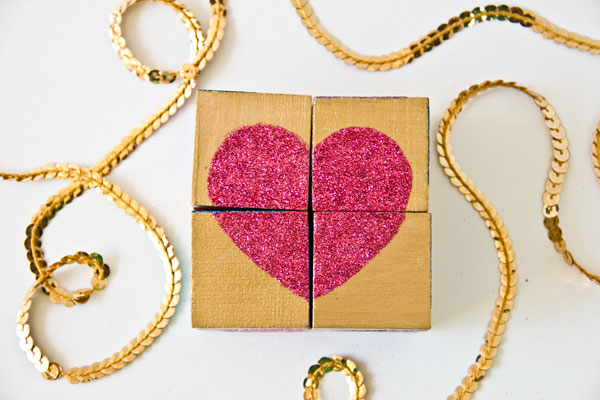
Happy Post-Superbowl Monday! Did you all enjoy playing Bingo? Have a favorite commercial? Whether you watched or not, I’m moving onto Valentine’s Day today and I am going to be tossing DIYs at you all week long. Sometimes even twice a day! Like today, for instance! To kick off the Valentine’s Day frenzy, I’m bringing you a fun little puzzle Valentine, perfect for all your friends (or kids!) who need a little sparkle in their life! I turned these simple wooden blocks into glittery heart puzzles and they are a blast. They do take a bit of time, so let’s get to craftin’ ladies and gents!
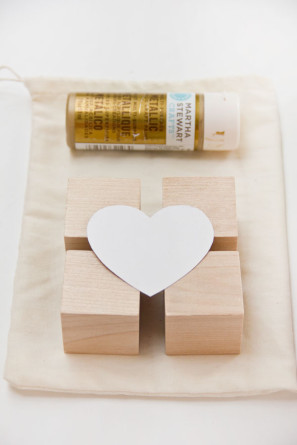
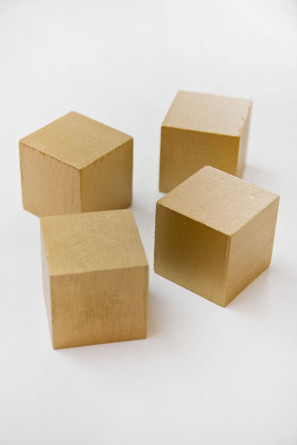
Wooden Blocks (Mine were 1.5″ and you can usually find them at your craft store!)
Craft Paint
Mod Podge
Glitter in Six Colors (Not pictured, I got too excited!)
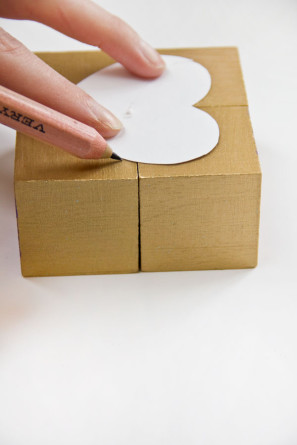
Heart Template (Make one that fits on top of four blocks when pushed together)
Pencil
Paint Brushes
Muslin Bag (Optional, for packaging)
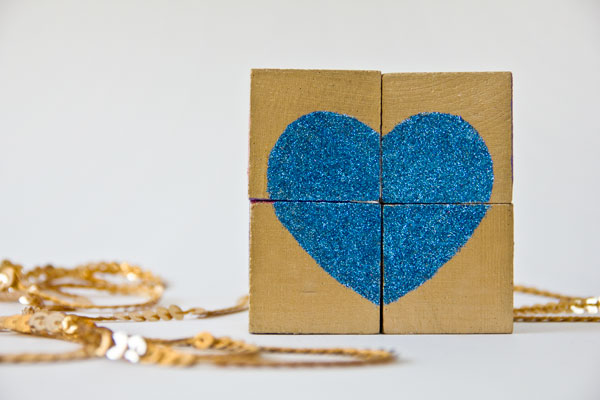
Paint all your blocks whatever color you so choose! (Gold, duh!) Let dry. Line up your blocks as shown, lay your heart template on top (centered) and lightly trace around it onto the wood.
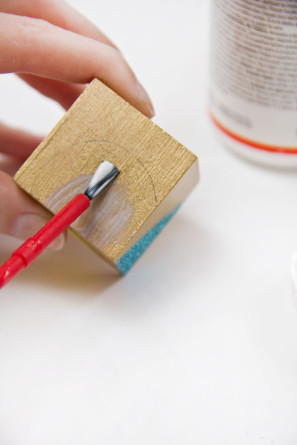
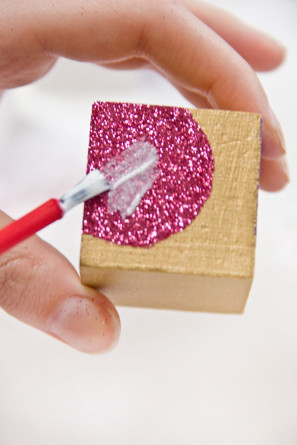
Working one by one, apply Mod Podge within your traced line on each block. Cover in glitter and tap, shake or brush off the excess. You only want to work with one color glitter (one heart) at a time or it will get confusing. Let dry.
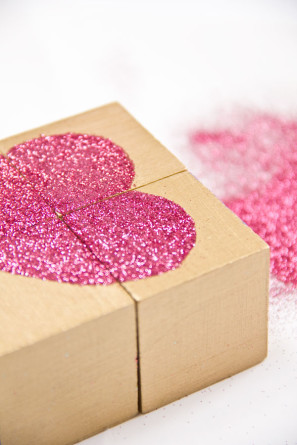
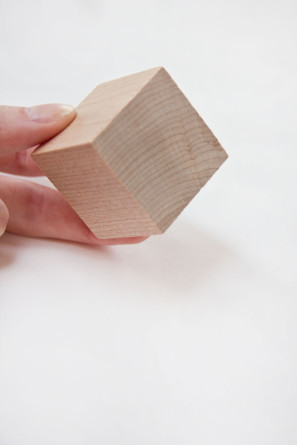
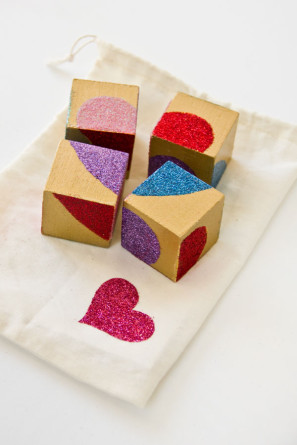
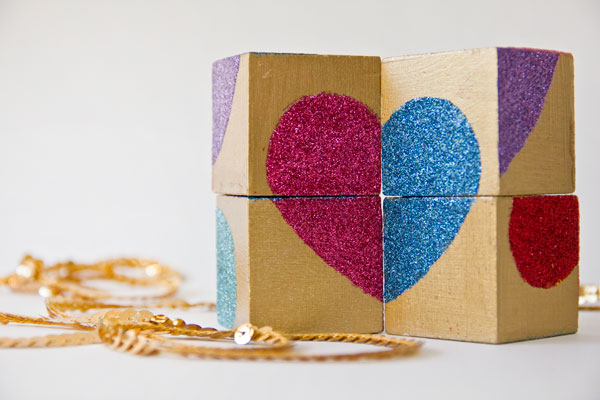
To seal the glitter, add another layer of Mod Podge over just the glittered part of your block. Let dry completely. You’ll now repeat all of these steps five more times for the rest of the sides of the blocks. Each time, simply flip the blocks to a blank side, align and trace… and so on! You can do this in a pattern (i.e. all bottom left quarters of the hearts on one block) if you’d like or just randomly.
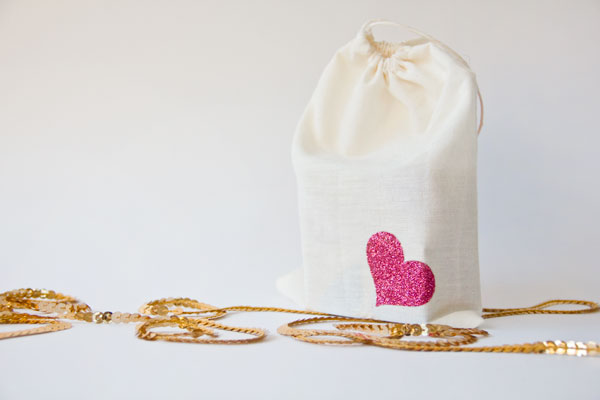
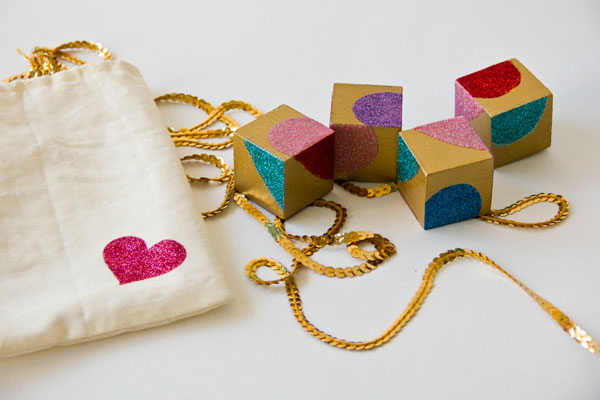
Package up in a cute, and also glitter adorned, muslin bag with a special note for your Valentine! (The glitter bag tutorial is comin’ at ya next!)
Isn’t it just so fun and sparkly!? Who cares what age you are, sparkly puzzles rock.
All Photos by Studio DIY
Are you sending out Valentine’s still? Or do you leave that to the kiddos nowadays? I used to love making Valentines for my friends in school so I still continue it to this day!
For more Valentine’s Day DIYs click here! And for more DIYs all around, head over here. There’s a lot of craftiness to be had.


Audrey - This Little Street says
Loving this project, Kelly – will definitely share!!! 🙂
Kelly says
Thanks Audrey!! Can’t go wrong with a little glitter, right!?
Kelly
Lexy | The Proper Pinwheel says
You are killing it. These are one of my faves! I’m going to make them for some kids I know! 🙂
Brittni says
Love this Kelly!
Faith says
We had so much fun with Superbowl bingo at our party! It was a huge hit since there were lots of people there not entirely interested in the actual game. It gave everyone something to participate in, THANK YOU! On another note, I’m super excited for all your DIY post this week! Valentines day here we come!
Kelly says
Ah! I just LOVE hearing that, Faith!!!! So happy it was a hit!
Kelly
Beckie says
Love this glittery DIY…. I would love to put this on top of my desk. Thanks Kelly!
Christina at I Gotta Create! says
Love! Pinning 🙂
<3 Christina at I Gotta Create!
Wildly Original linky party is open
Cass says
LOVE this project. I have three girls and glitter is everywhere. So you can imagine this project is right up our alley AND I think even the babe (9-months-old) will love this product. Thanks for such a clever diy project.
It's Emma Elise says
Love this! I included it in my latest “Massive List of Links” post (http://itsemmaelise.com/post/78652228099/massive-list-of-links-part-10). Thanks again for sharing!
♥emma
www.itsemmaelise.com
Jake says
Love it – so much fun!